
You must have at least a 220×220 bed size to print these mounts. As with all our designs, we strive to utilize the precut zip tie hole locations for our mounts. On the Overlord most of the precut zip ties are utilized, but a few additional ones will need to be made.
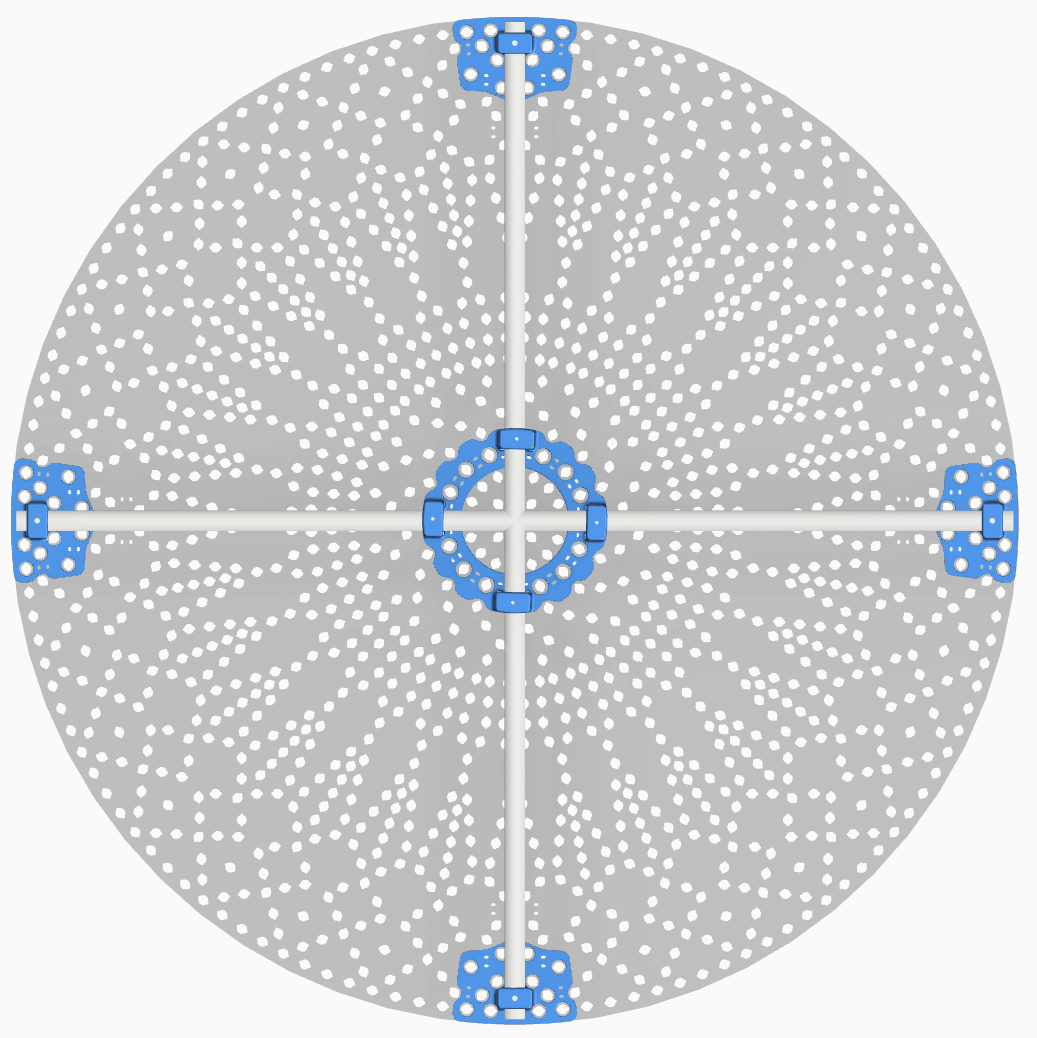
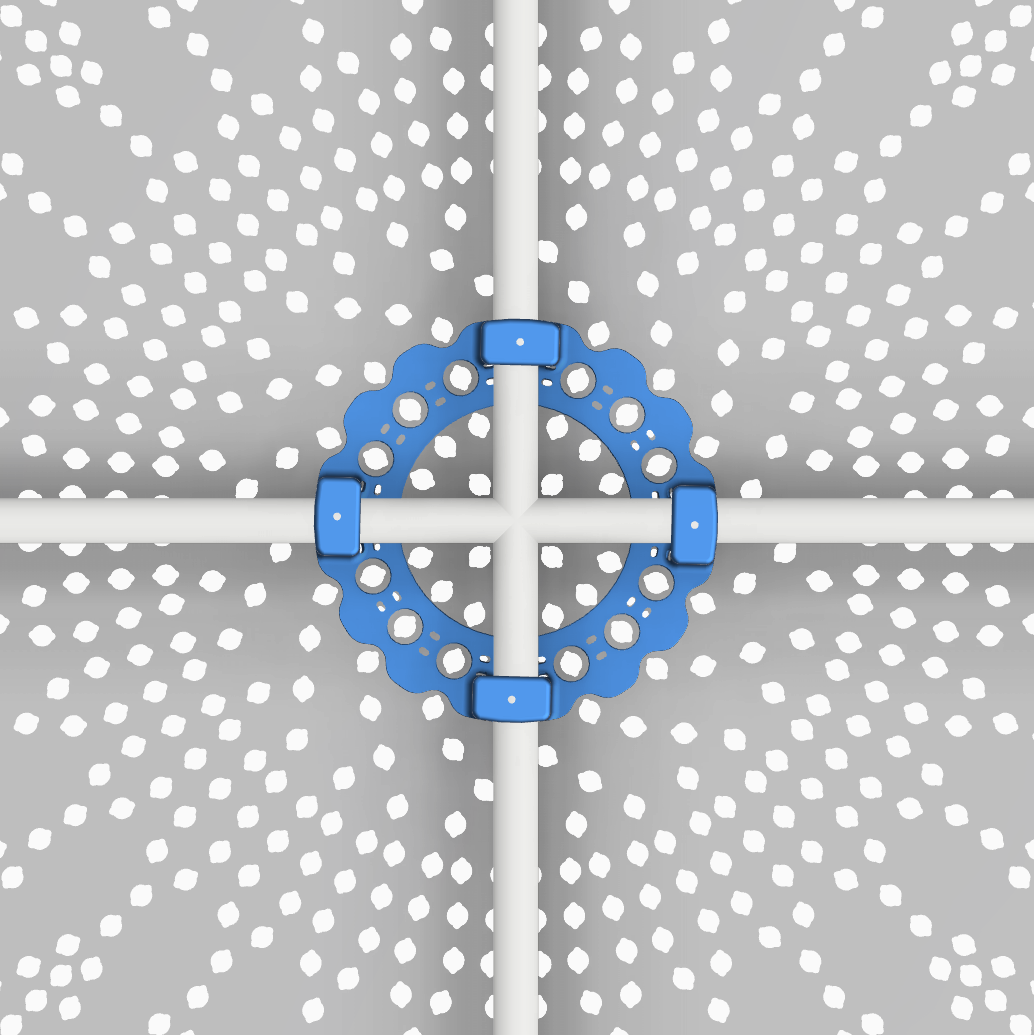
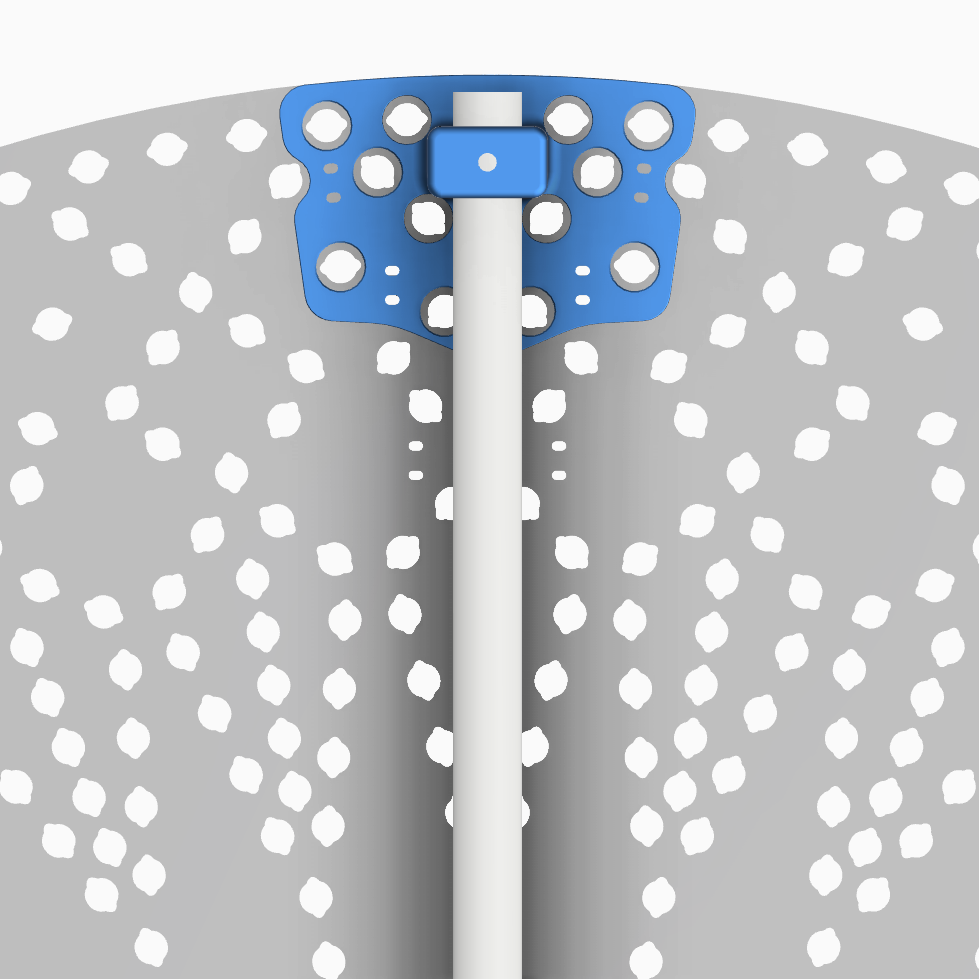
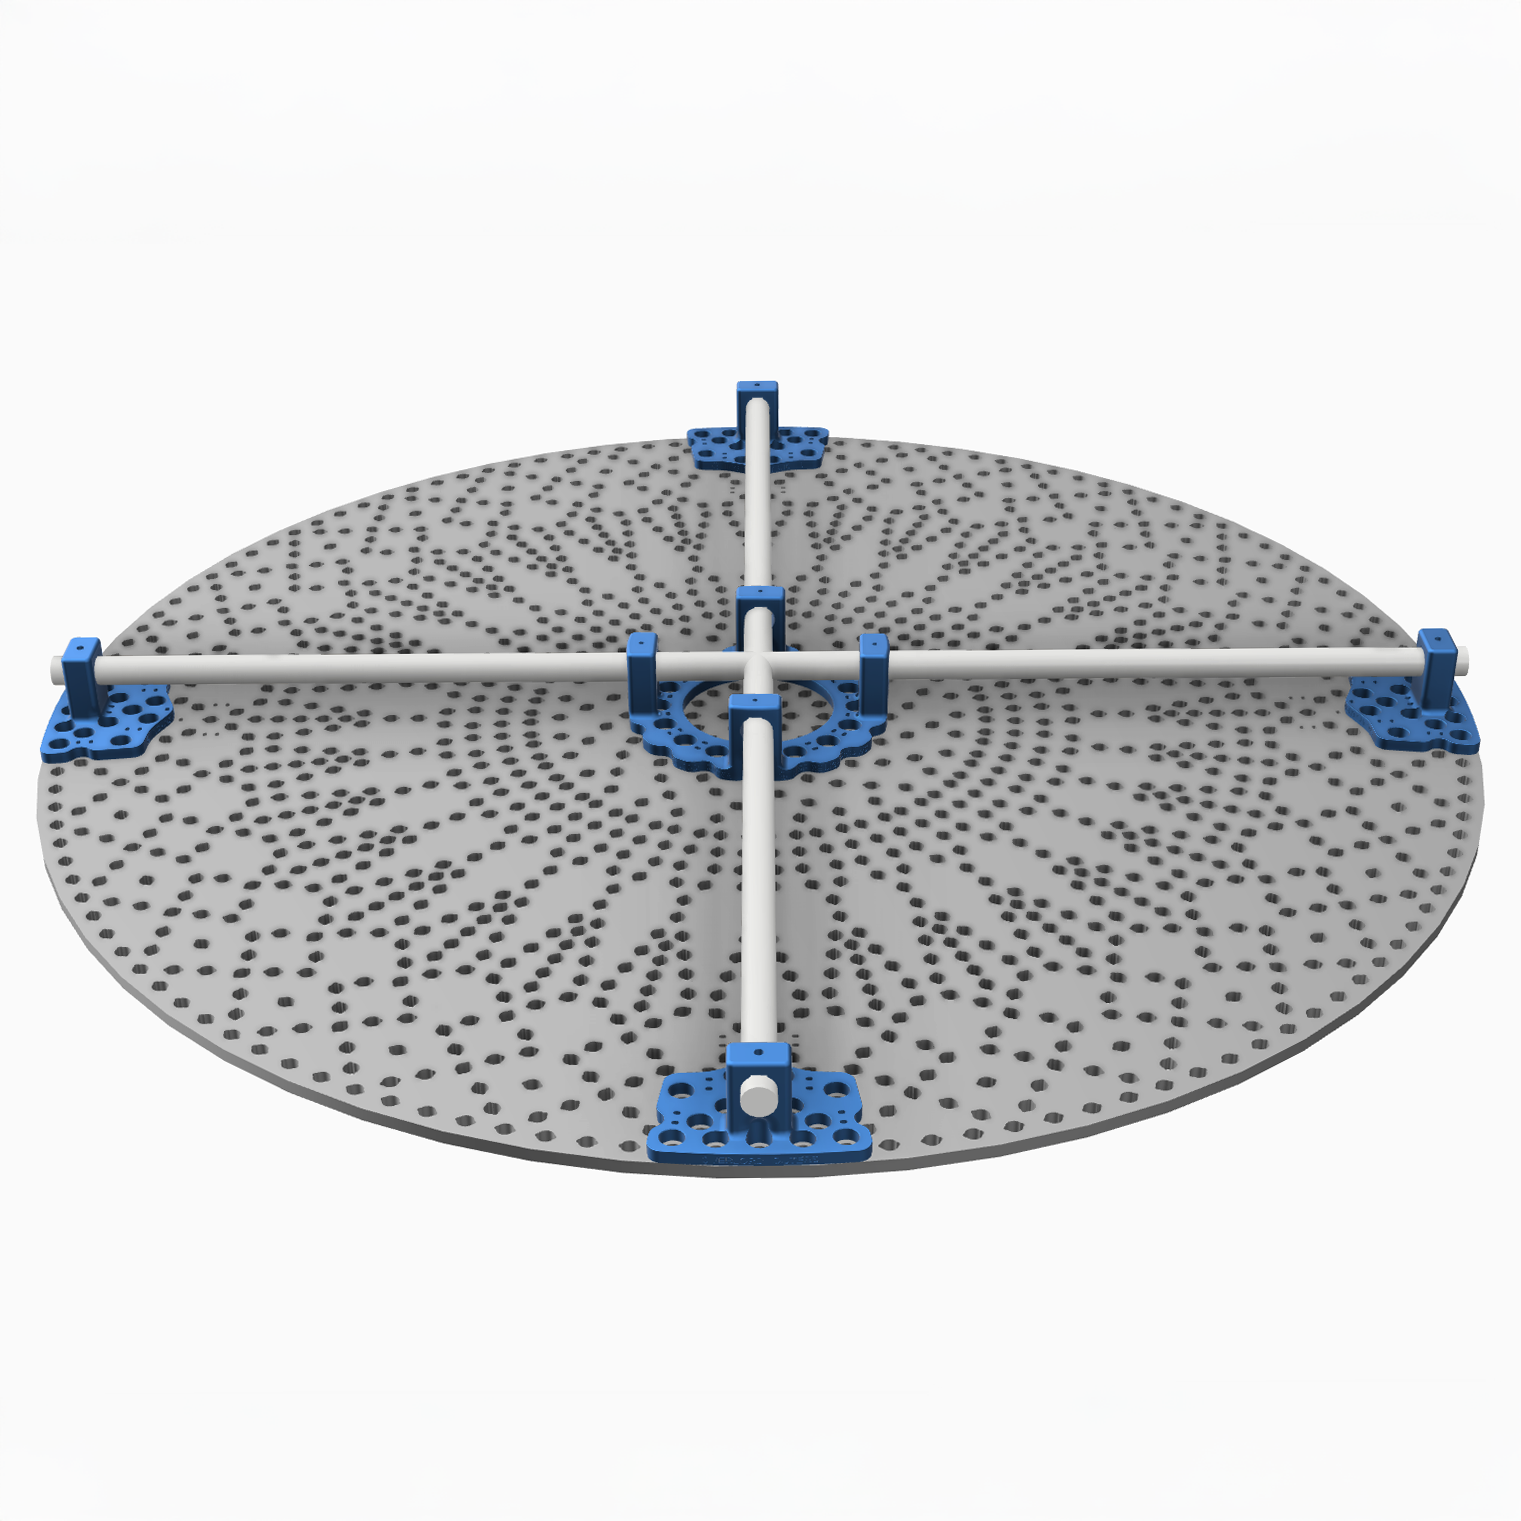
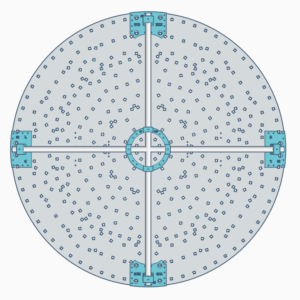
The Overlord prop contains several pixels near the center mount area that are not perfectly aligned with the prop’s central axis, unlike the rest of the layout. As a result, if the center mount were to be positioned based solely on the pixel holes, it will be slightly misaligned with the outer mounts. Since the outer mounts are correctly aligned, we recommend starting by centering and securing the outer mounts first. Then, run the conduit between the outer mounts and through the center mount to align it properly. The pixel holes around the center are wide enough to accommodate this slight variance and the average zip tie position was used in the design so that the precut holes can still be utilized. Once the alignment is satisfactory, secure the mounts with zip ties. The conduit can be temporarily removed to speed up pixel installation and then permanently reattached once the pixels are in place.
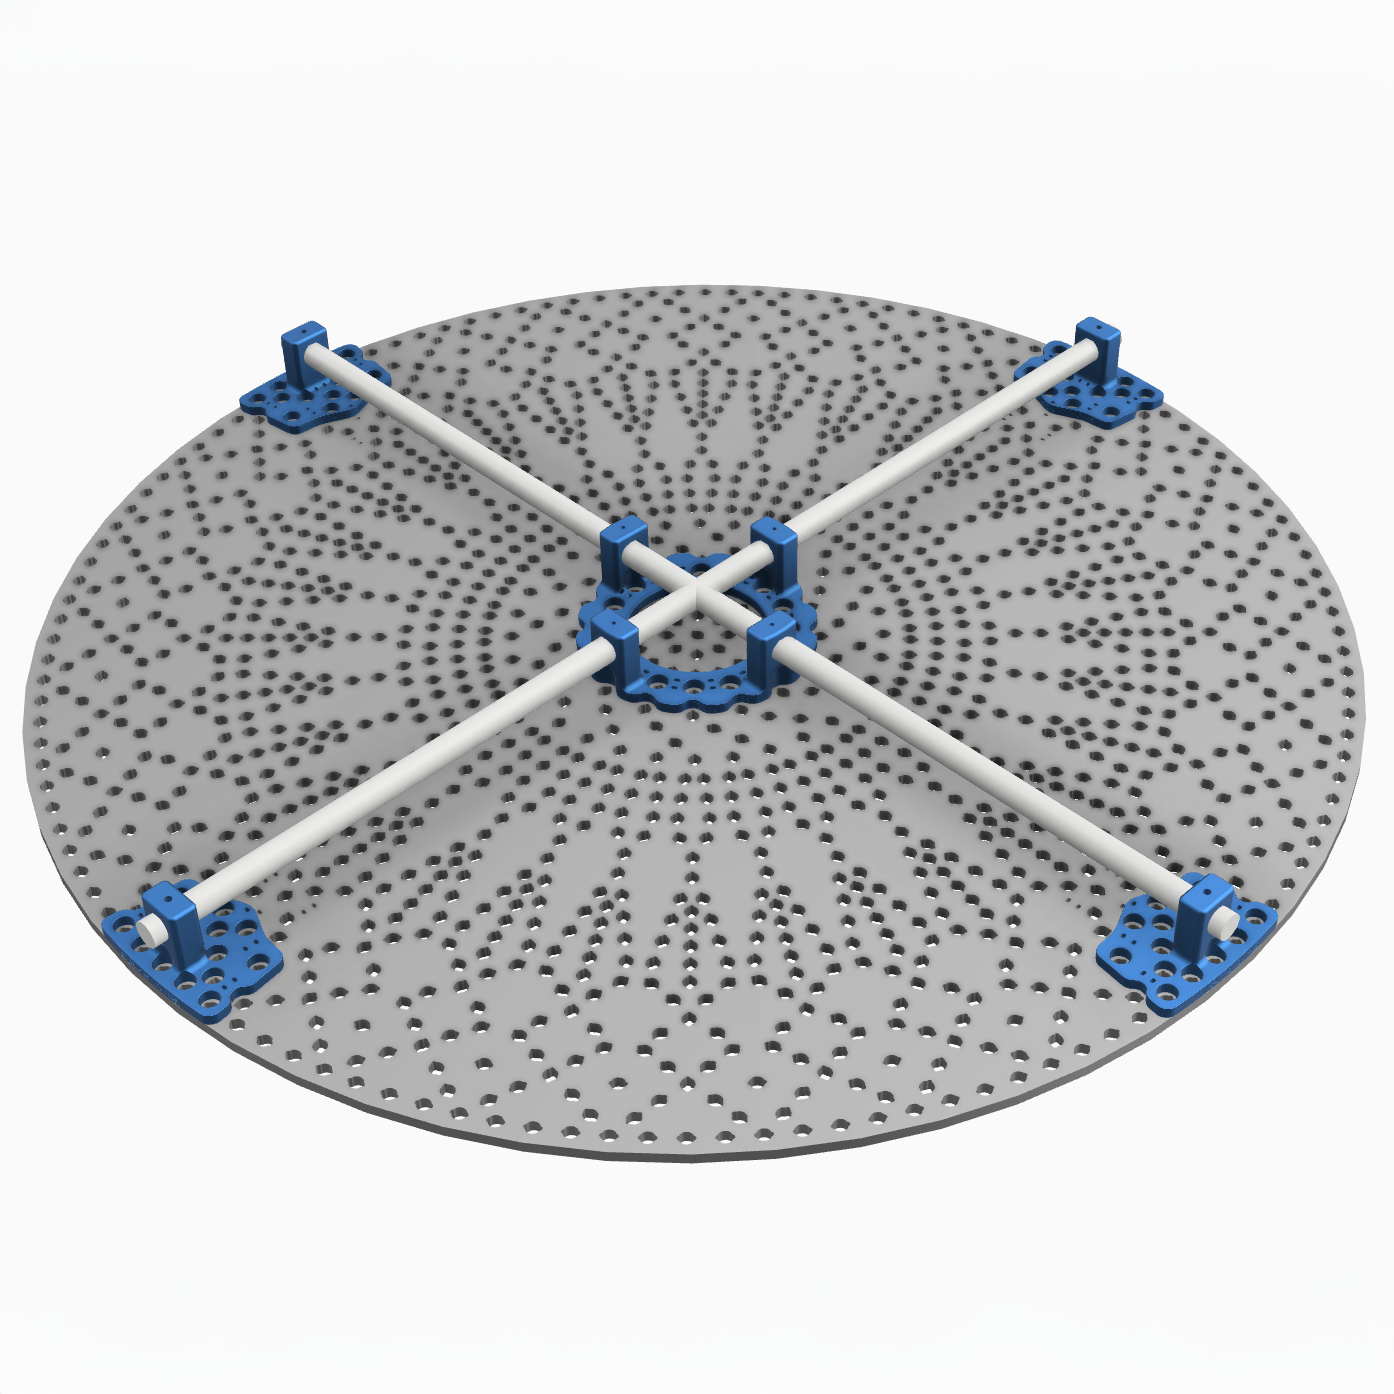
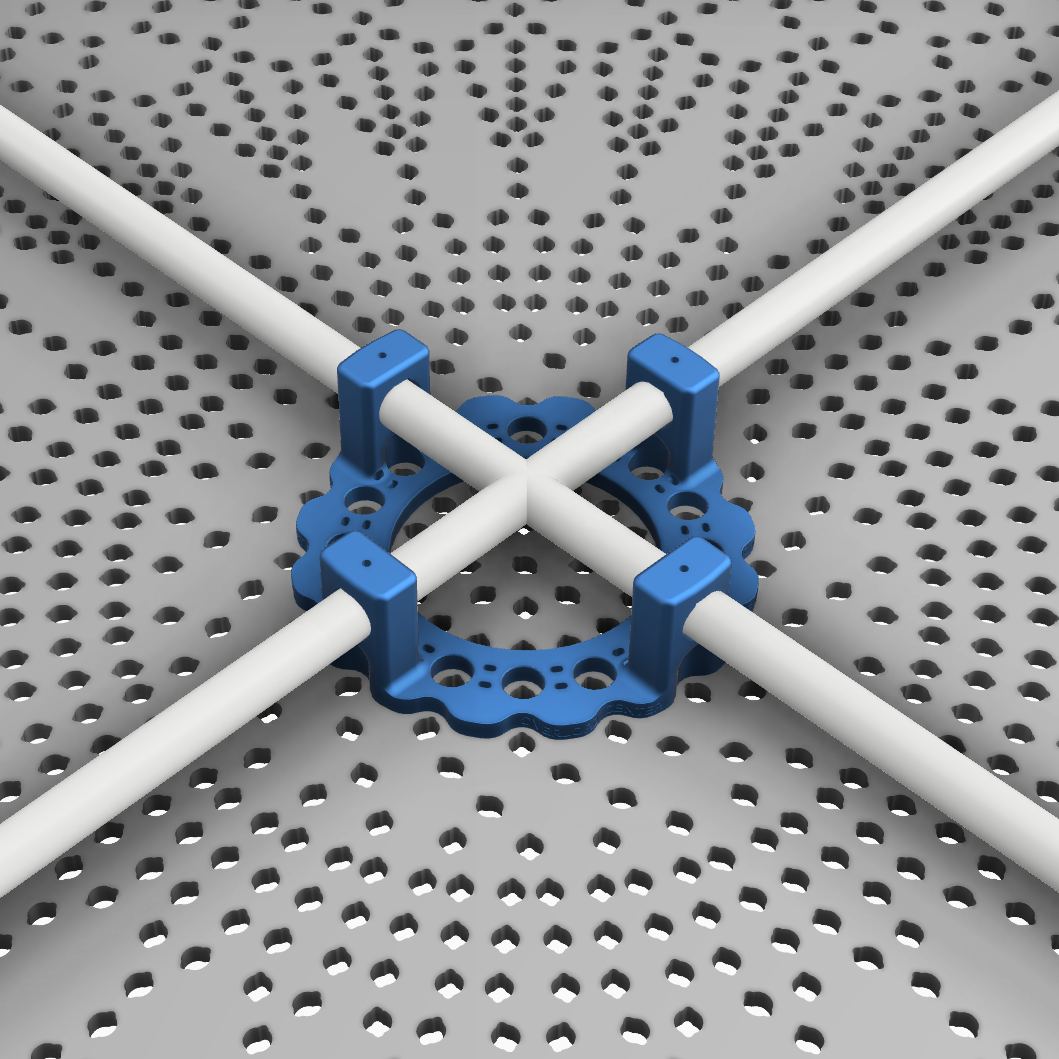
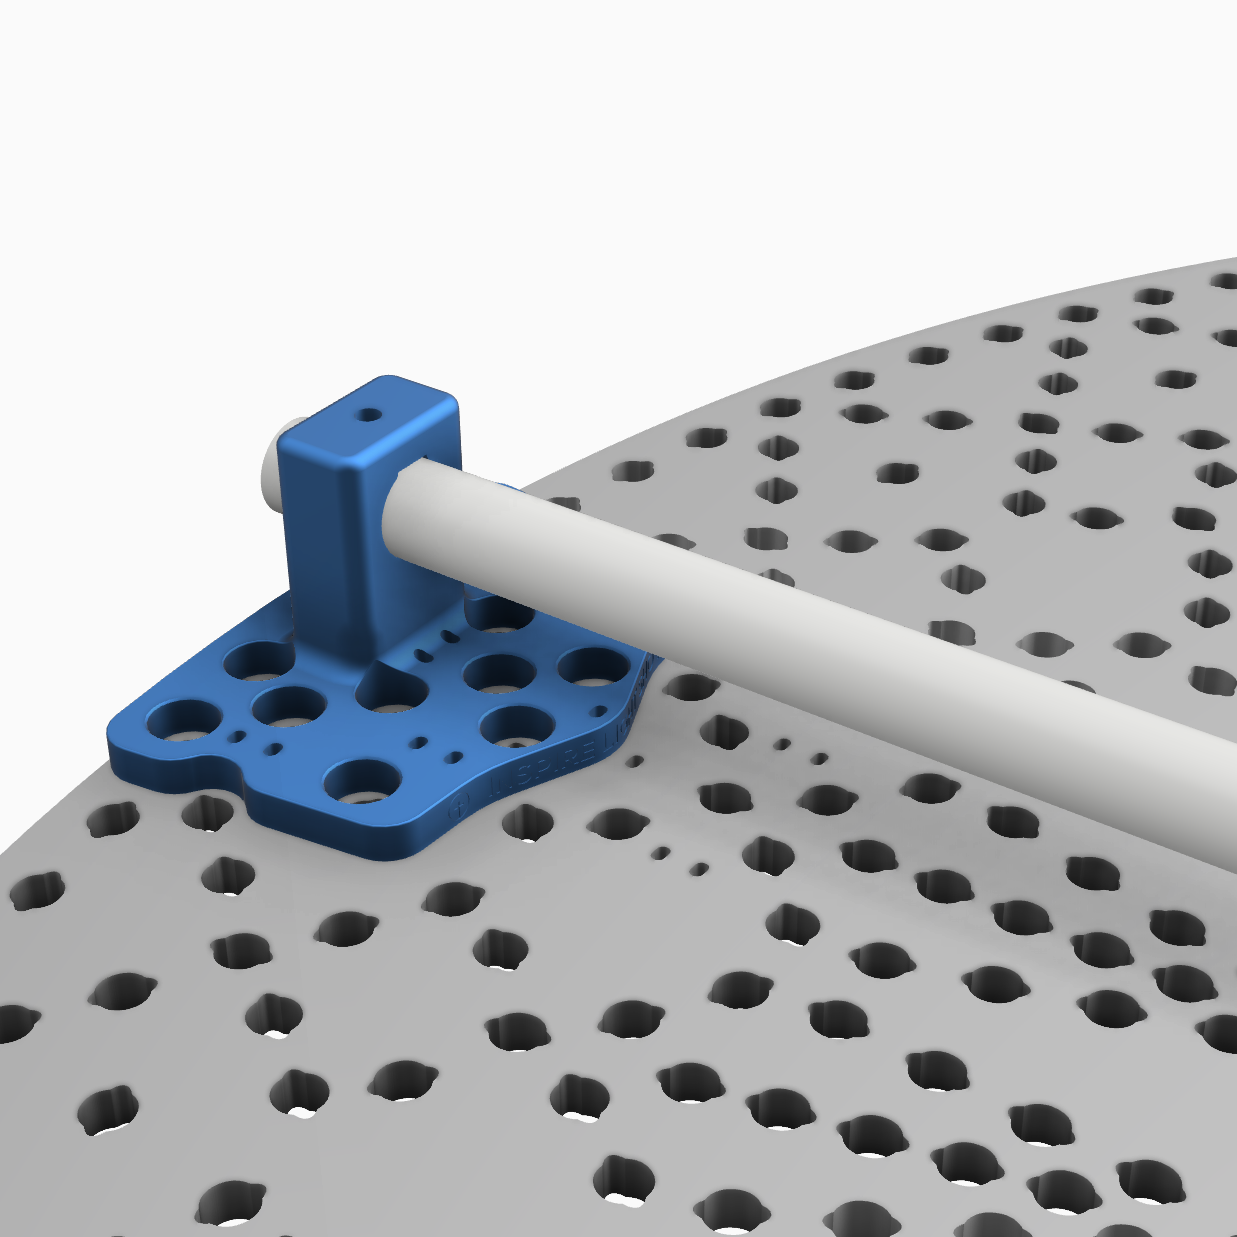
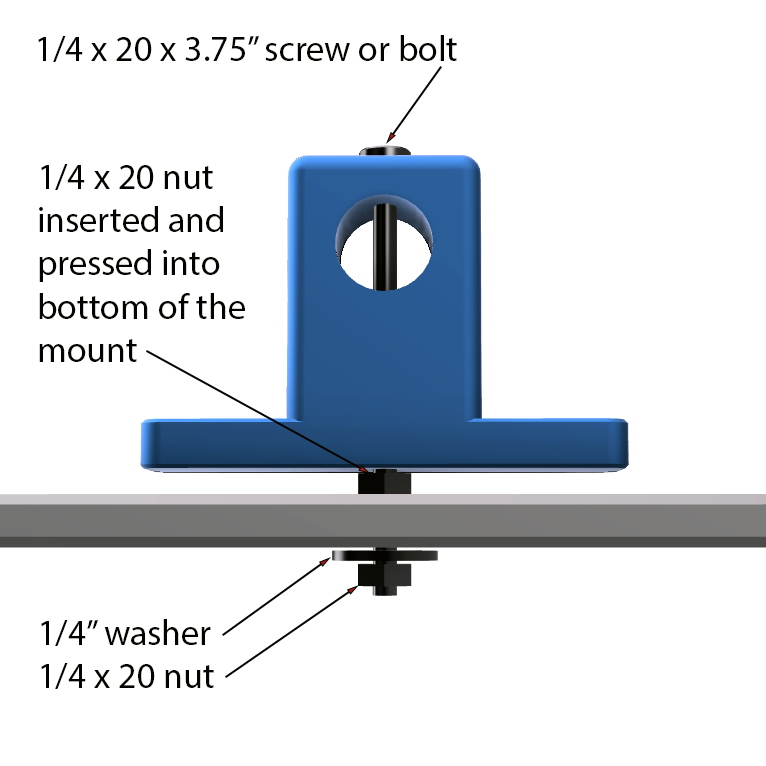
On the center mounts, the conduit is secured conventionally with screws at the back of the mounts. However, on the outer mounts, the conduit is fastened with a screw or bolt that runs from the back of the mount, through the entire mount, and all the way to the front of the prop. This design significantly increases the overall strength of the mounting system by creating a solid connection from the front of the prop to the back. A hole will need to be made in the coro to allow the screw or bolt to pass through. A rendering above illustrates how this screw/bolt system works.
Note if utilizing the steel backer plates from GE these are thin enough that they may be placed under the mounts.
Reviews
There are no reviews yet.