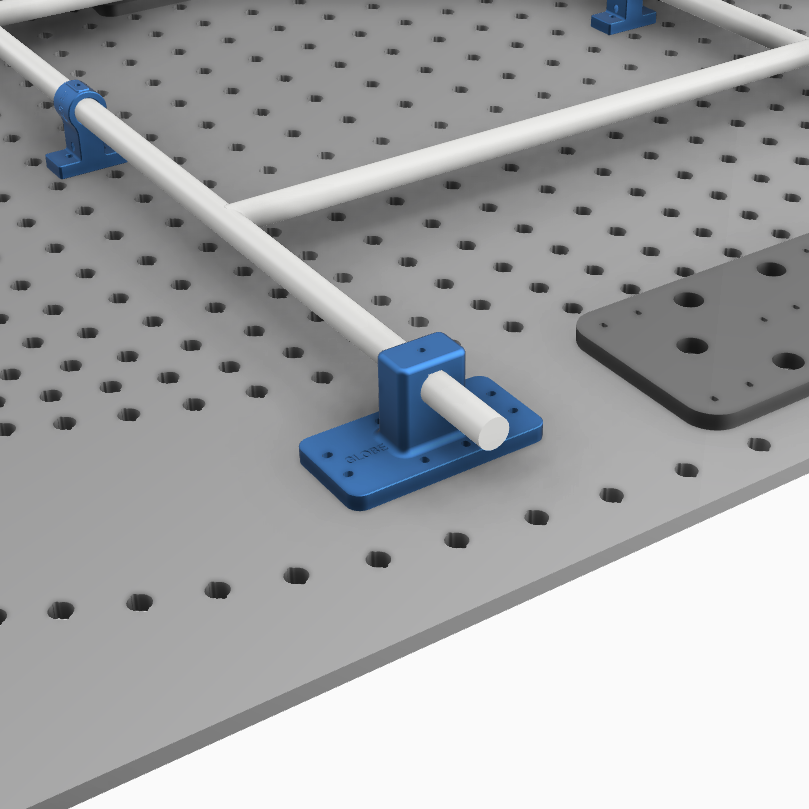
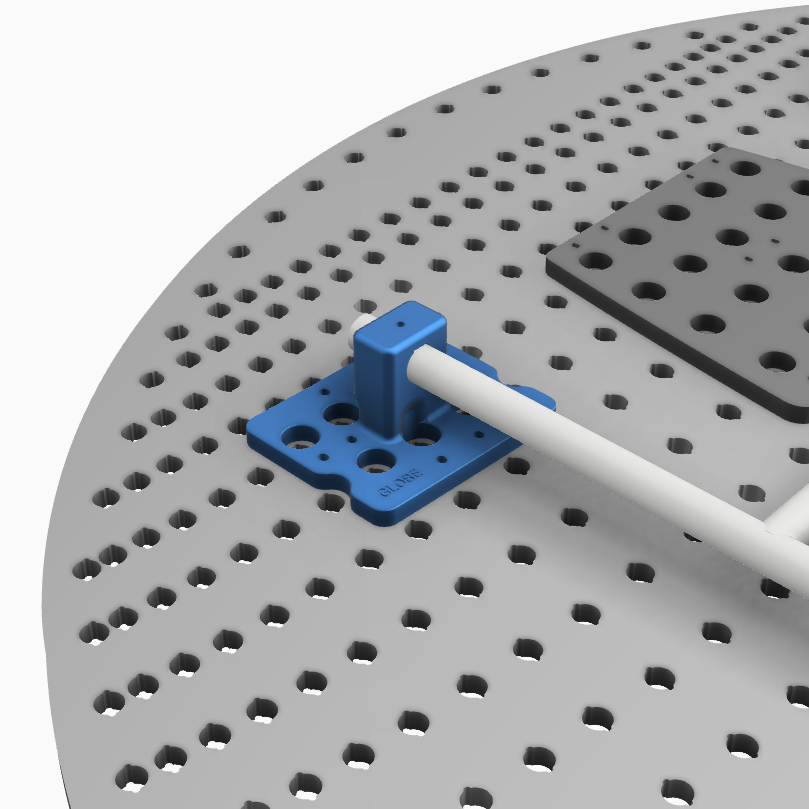
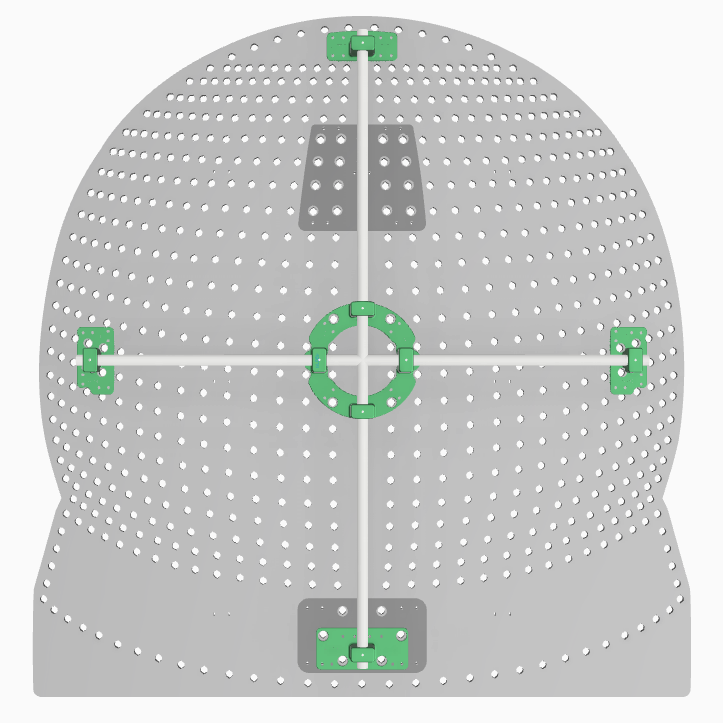
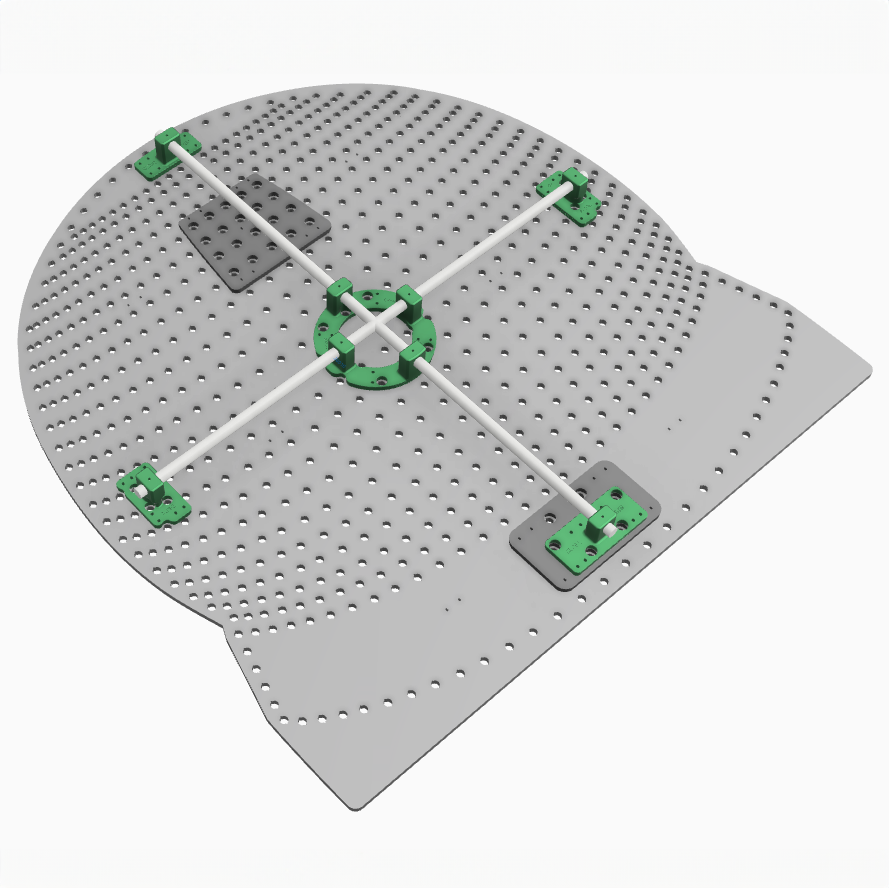
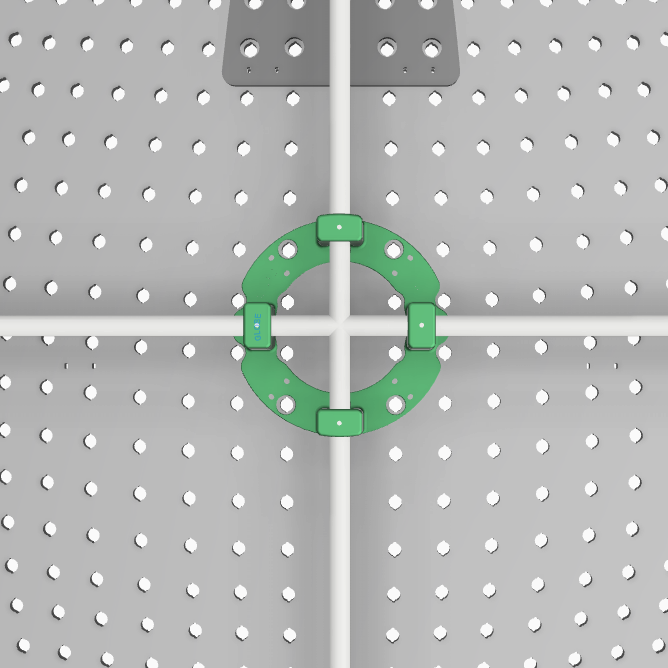
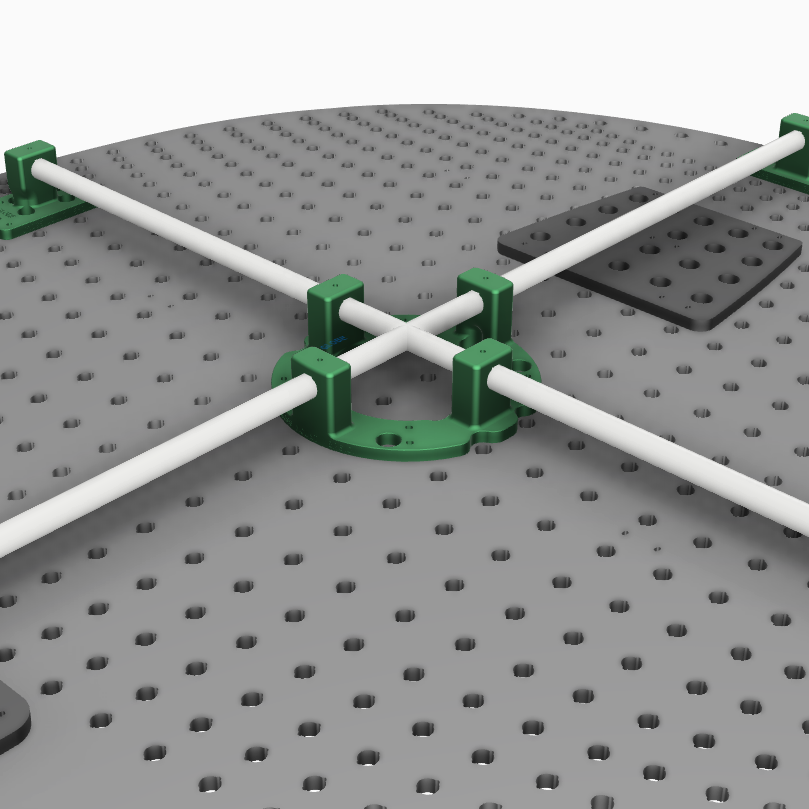
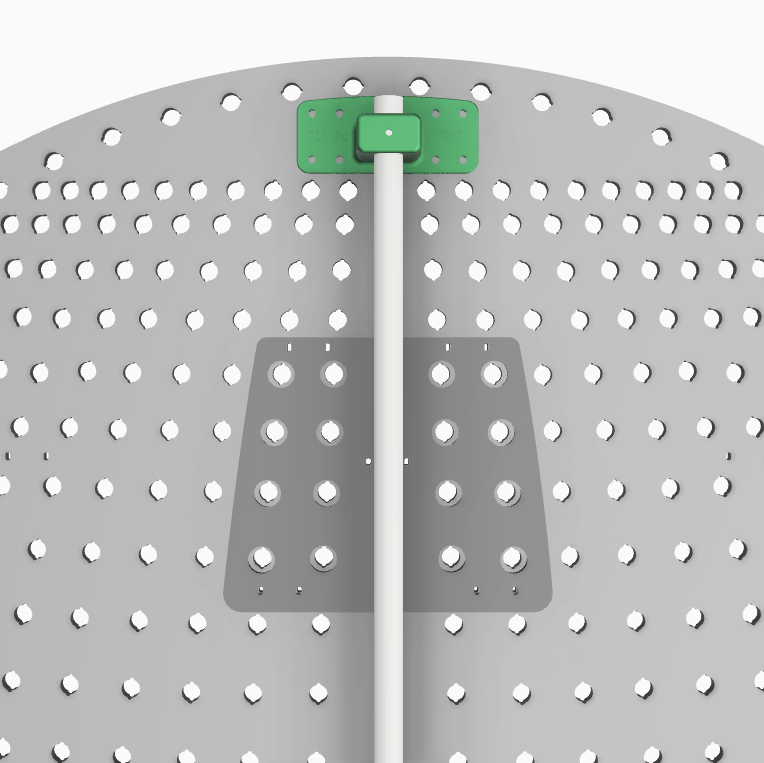
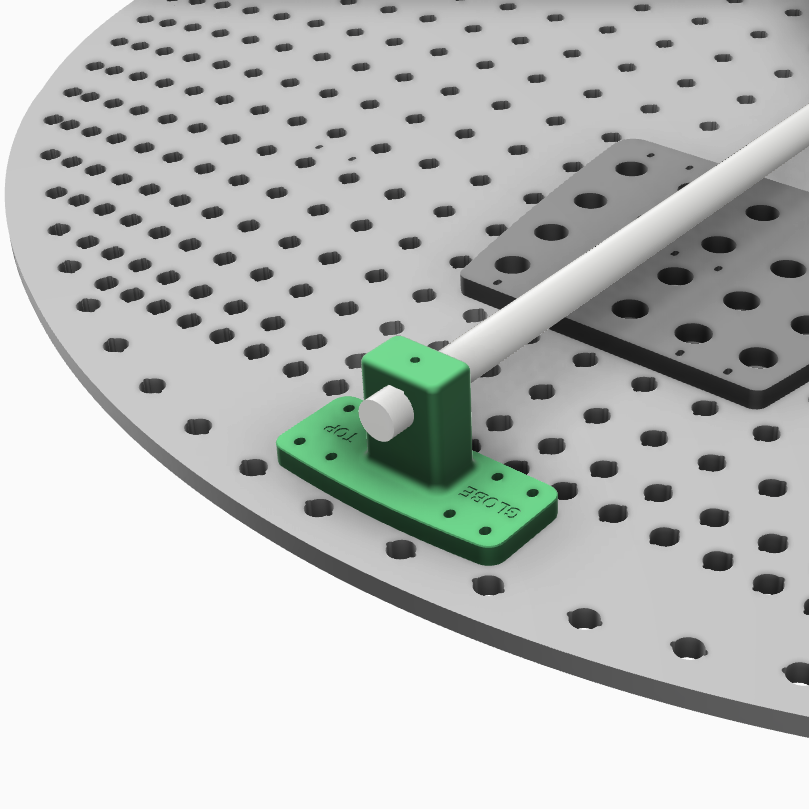
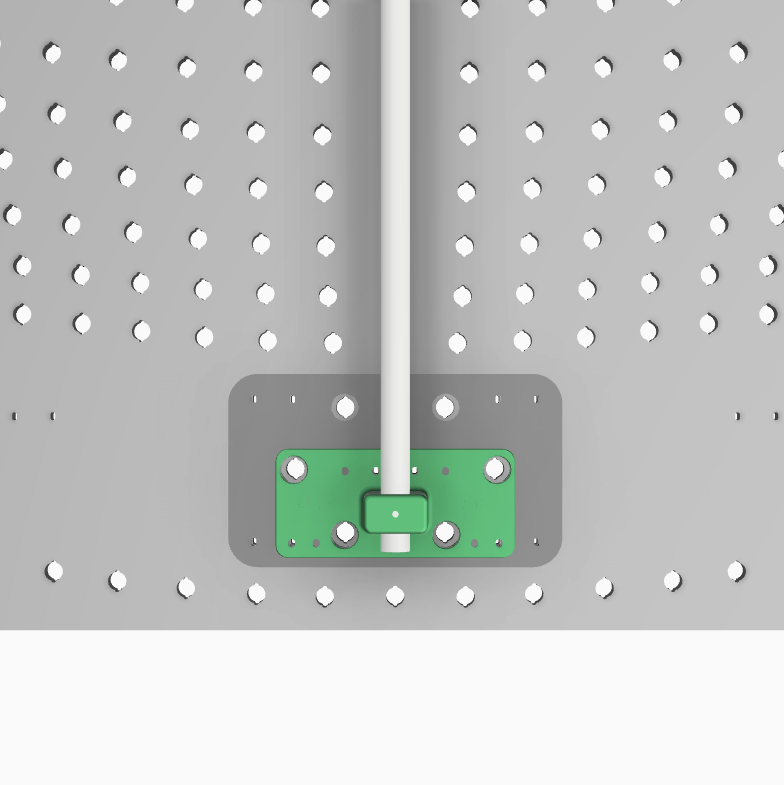
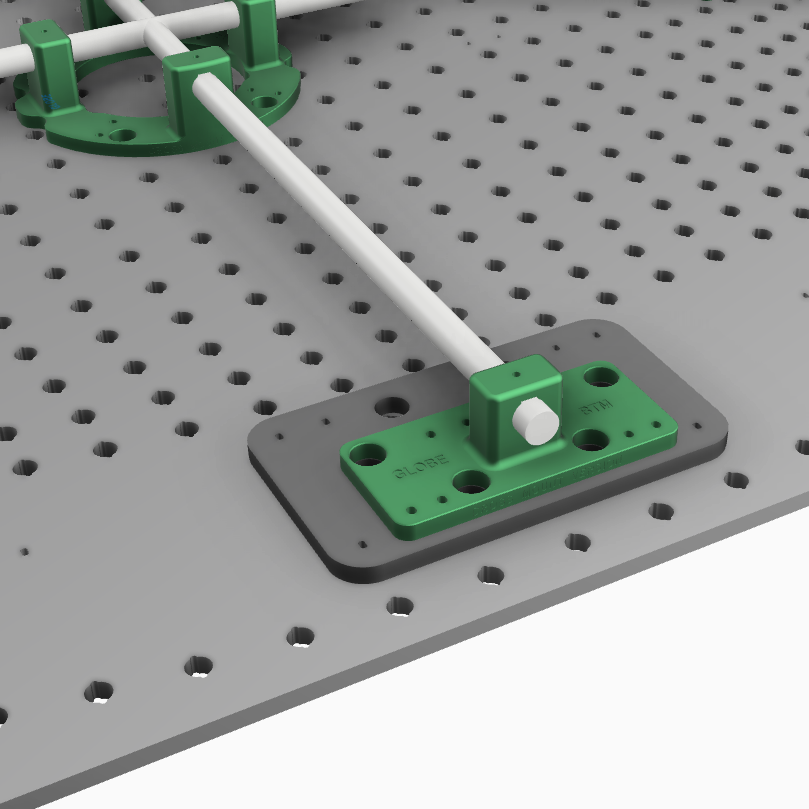
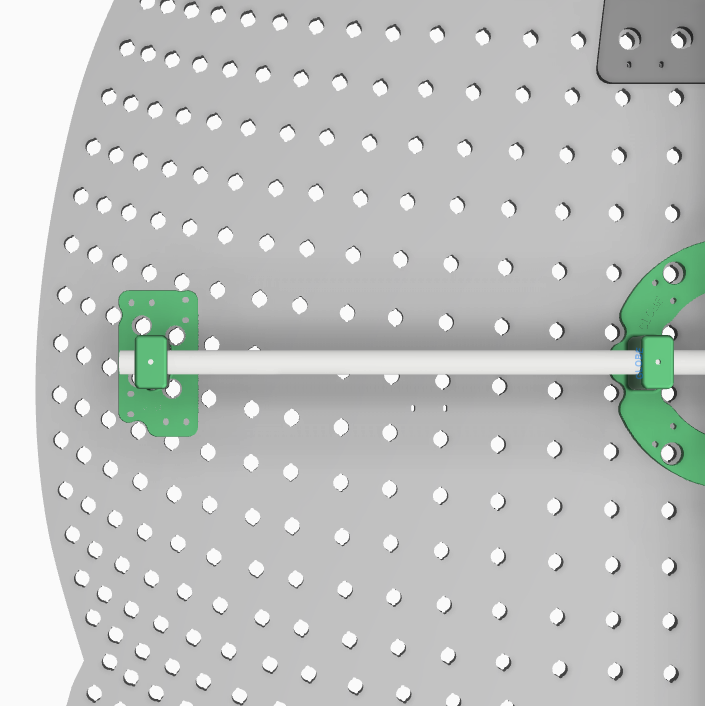
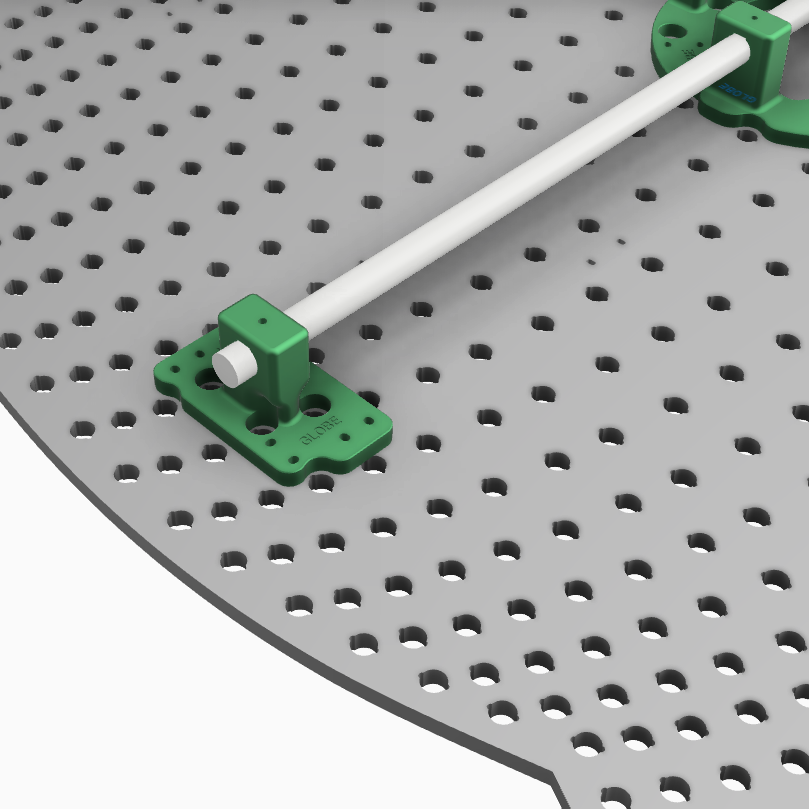
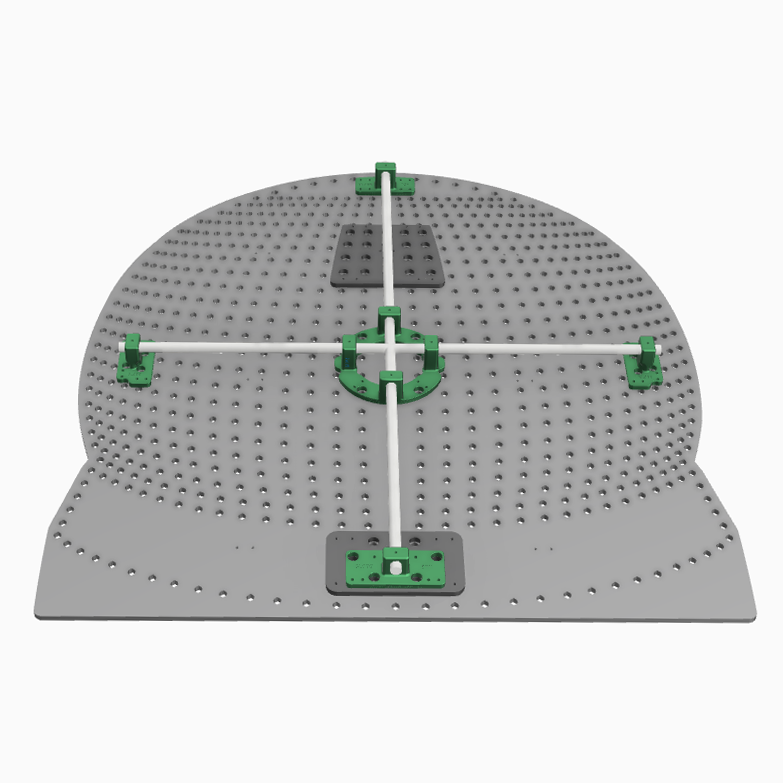
As always we try and utilize stock zip tie hole locations as much as possible on the mounts. The box style mount uses many of the stock zip tie hole locations, but there are still a handful of ones that will have to be made. However the cross style mount can only utilize a few and you will have to make most zip tie holes. See the link below for more tips on making the zip tie holes.
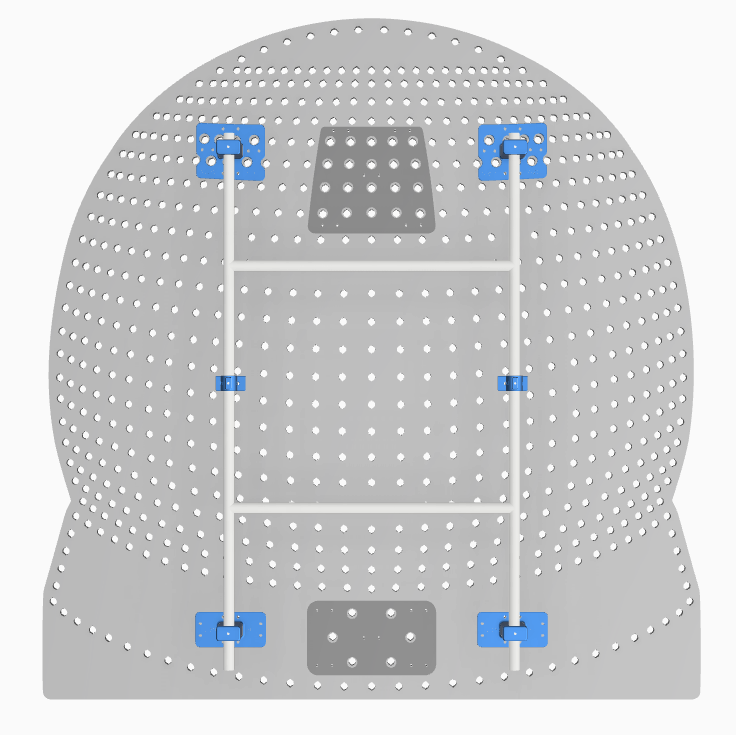
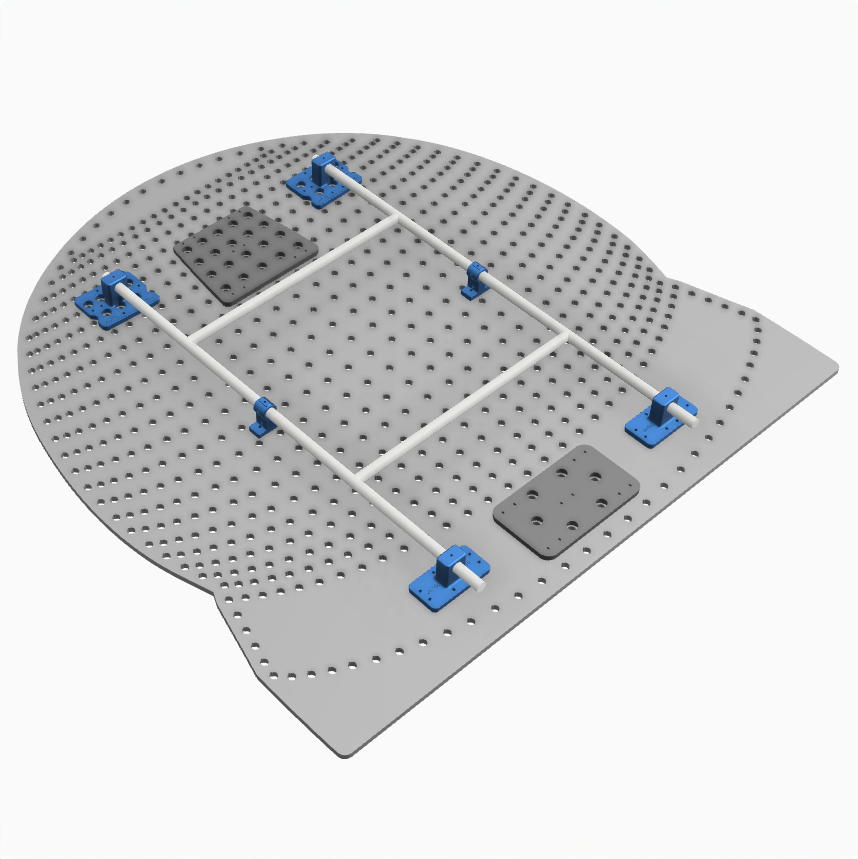
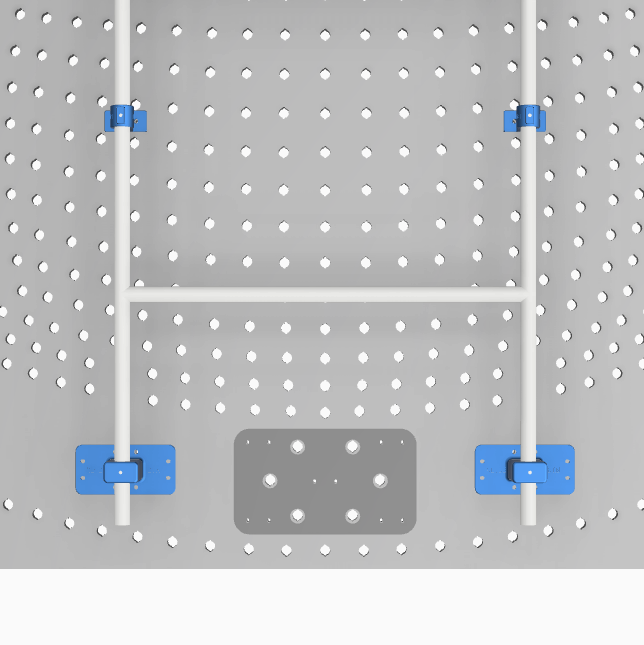
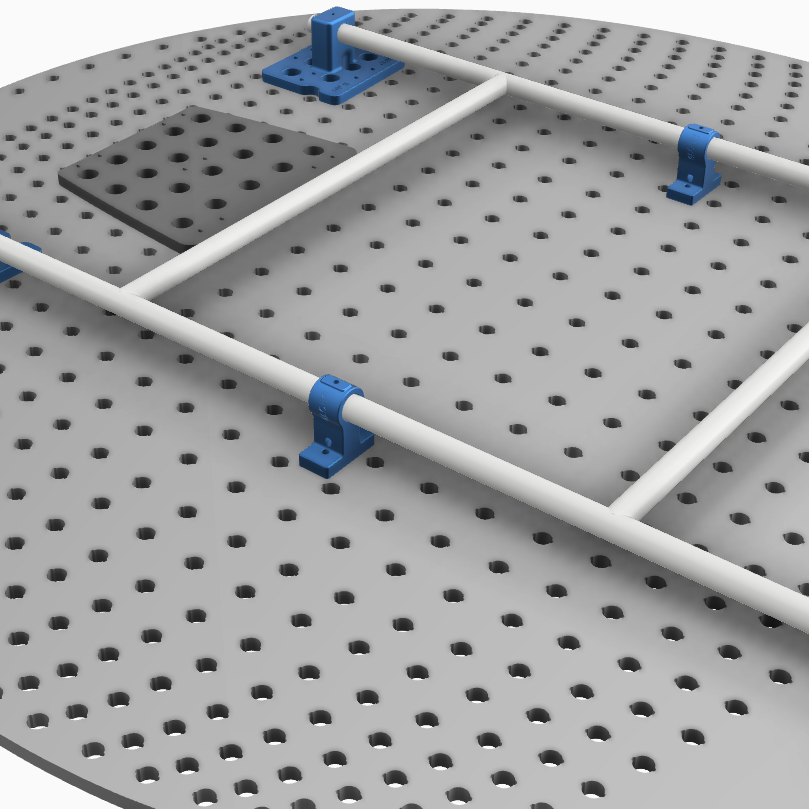
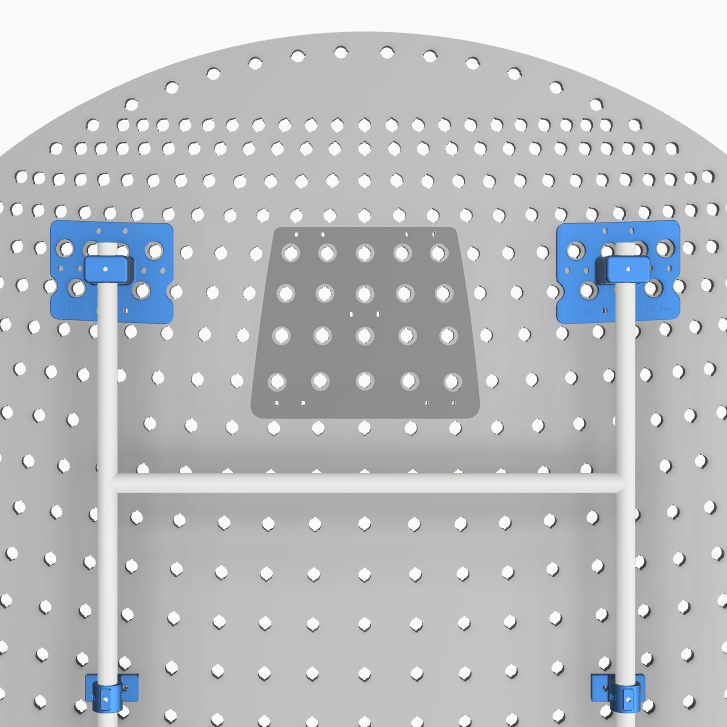
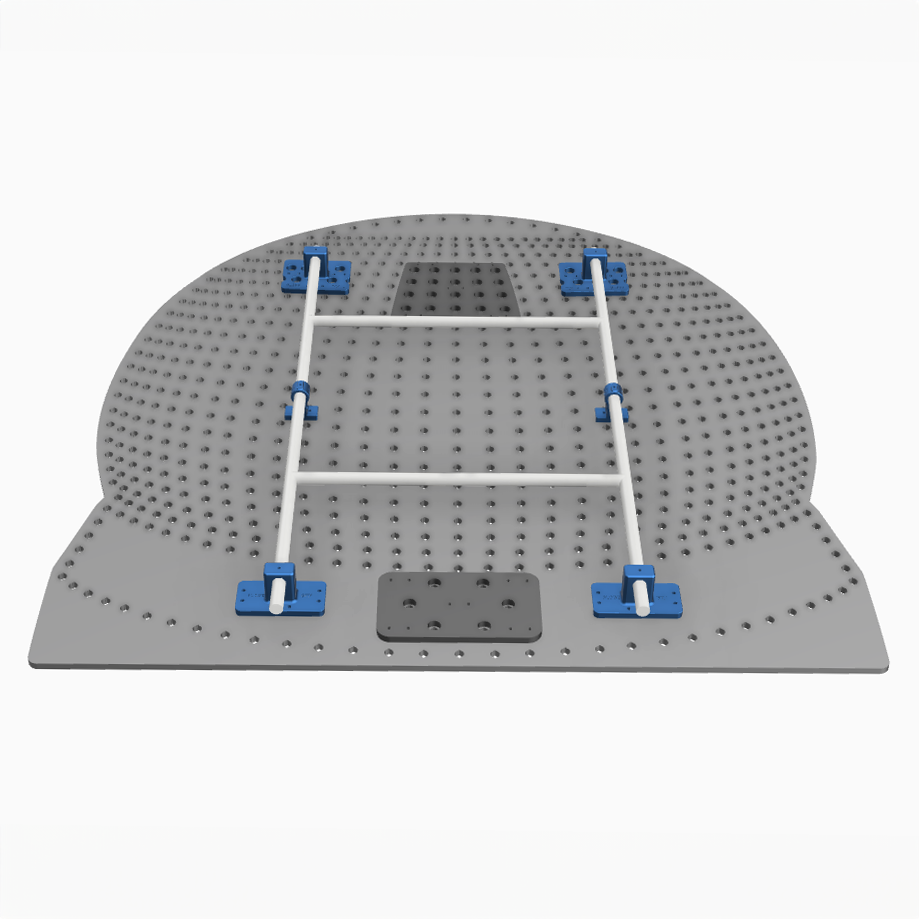
The placement of the horizontal brazing on the box style design is entirely up to you since the horizontal conduit does not directly attach to a mount. What is shown in the renderings is simply a suggestion. One could easily locate them below the lower mounts and above the upper mounts and connect them to the vertical EMT using 90 degree elbows instead of tee fittings. Regardless of choice, you will want to utilize screws at on each side of the fitting and screw through the PVC and into the EMT to secure all fittings in place. Alternatively metal EMT fittings may be use as long as each span of the vertical EMT can still be one continuous section of conduit between the lower and upper mounts.
3D printing parts is a slow process and we have a whole print farm running 24/7 to fulfill orders and build stock of the more popular items. If you order a product that shows “made to order” we will move it directly to the print queue where it will be printed as soon as possible. While normal processing times for most orders with made to order items is less than a week, it can fluctuate. Very large orders can also experience longer than normal processing times as well because of the high number of hours it takes to produce lots of parts. If processing times are expected to be longer than two weeks before shipping, there will be a banner at the top of the website indicating the expected wait times. See the FAQ page for more info.
All of our 3D printed parts use PETG filament which provides good flexibility and resistance to UV exposure when used seasonally.

Reviews
There are no reviews yet.