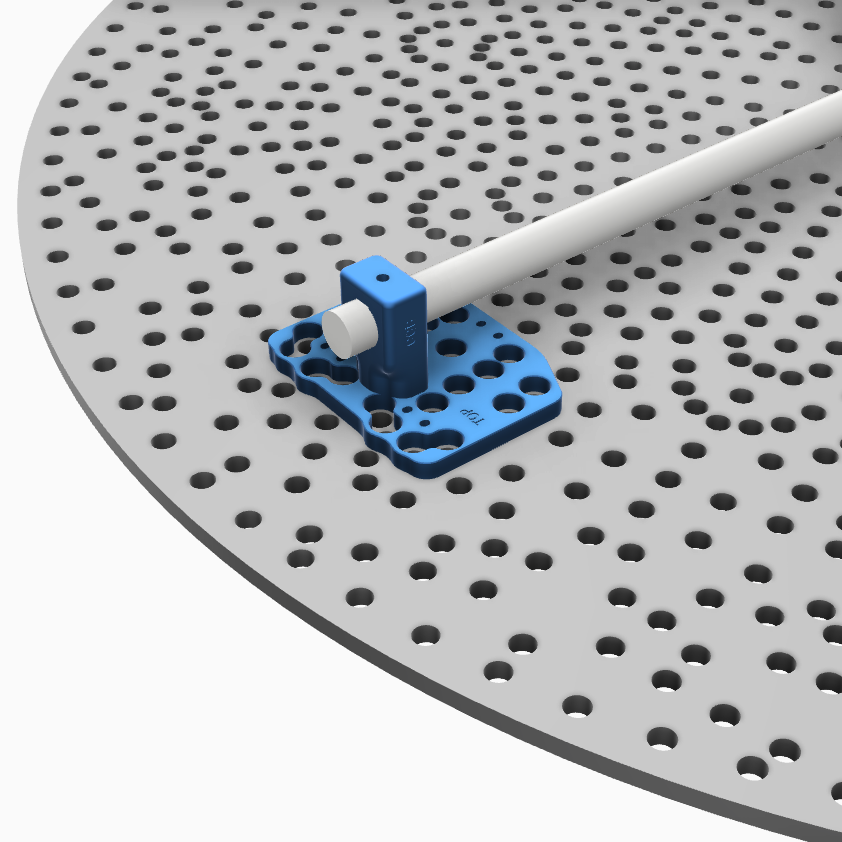
As stated above, the conduit is secured to the mounts and the prop by utilizing a 3.5″ long 1/4 – 20 screw or bolt at each mounting post location. This is done to add additional strength to the mounts as well as to make a stronger connection to the prop itself. You will have to make a 1/4″ hole in the prop at each location to be able to insert the screw or bolt. It does not matter whether the screw or bolt is inserted from the front or back side, but in either case it is recommended to use a washer on the front side to spread the force over more of the coro. When tightening the nut, only tighten until snug. Be careful not to overtighten or you could crack the mounts.
Click Click Boom Mount STL
$15.00
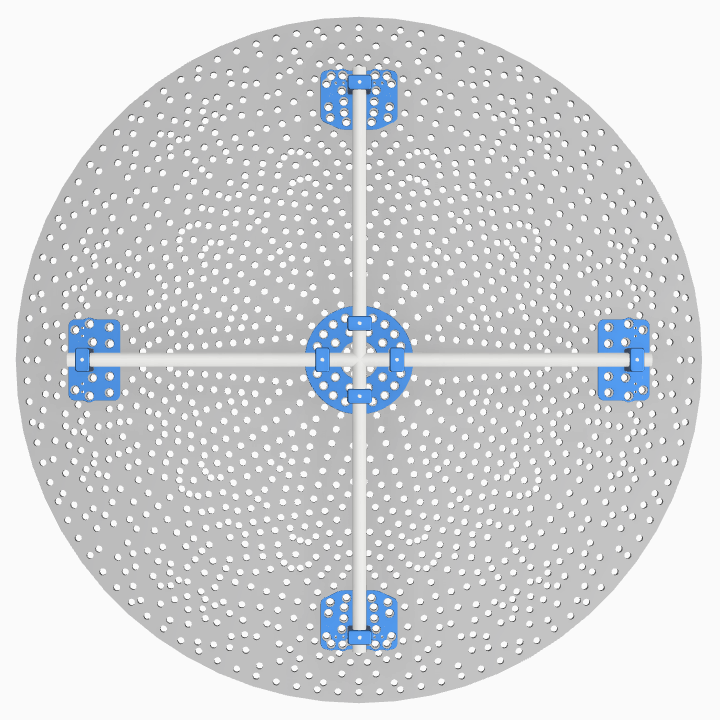
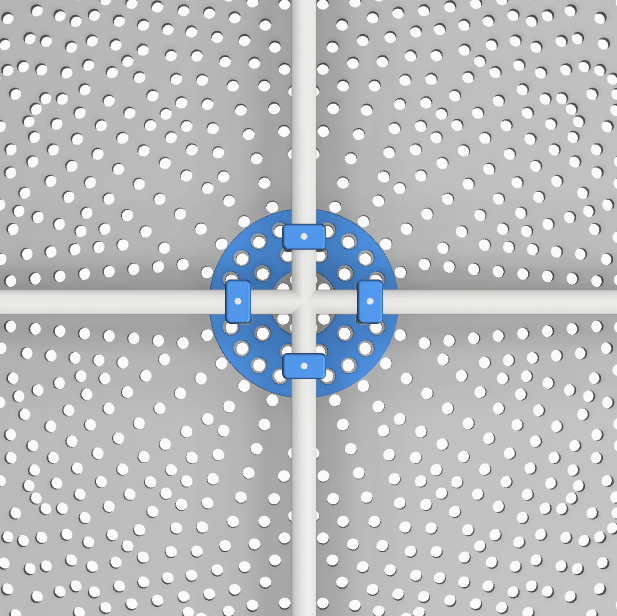
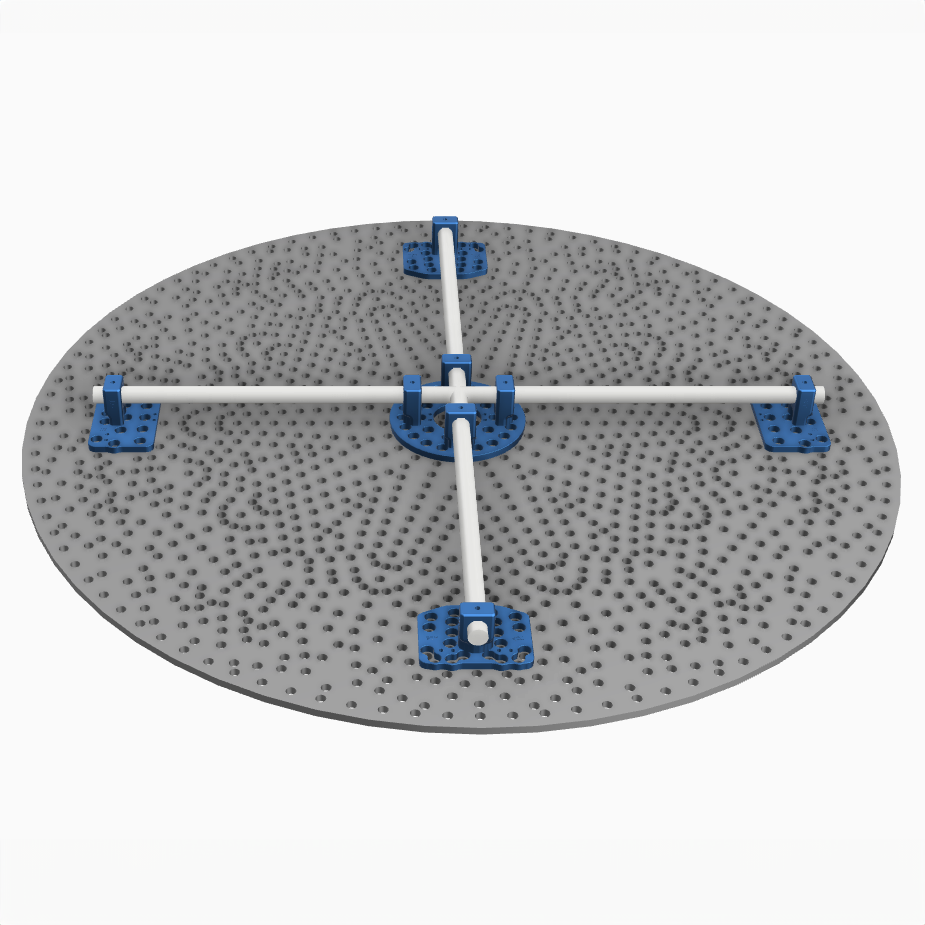
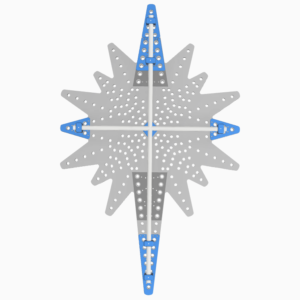
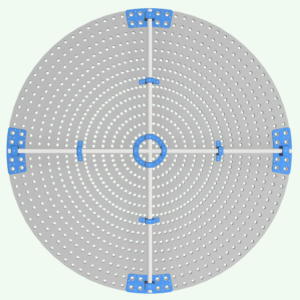
3D Printed mounting system for the Gilbert Engineering Click Click Boom 47″. The mounts provide a frame structure behind the coro to increase strength and allow mounting to various surfaces as well as provide rigidity to the prop after it has been slit in half for shipping. Due to the high pixel count and subsequent weight of the completed prop, the mounts are sized to fit 3/4″ EMT conduit. The mounts are then zip tied to the coro and to add additional strength to the system, the conduit is designed to be secured to the mounts and the prop by utilizing a 3.5″ long 1/4 – 20 screw / bolt with a corresponding nut at each mount post location. The center junction is made using a 3/4″ PVC cross which allows the smaller EMT conduit to pass through utilizing the included EMT to PVC bushings file.
Note: This is a digital purchase for STL files and not a physical product.






Reviews
There are no reviews yet.