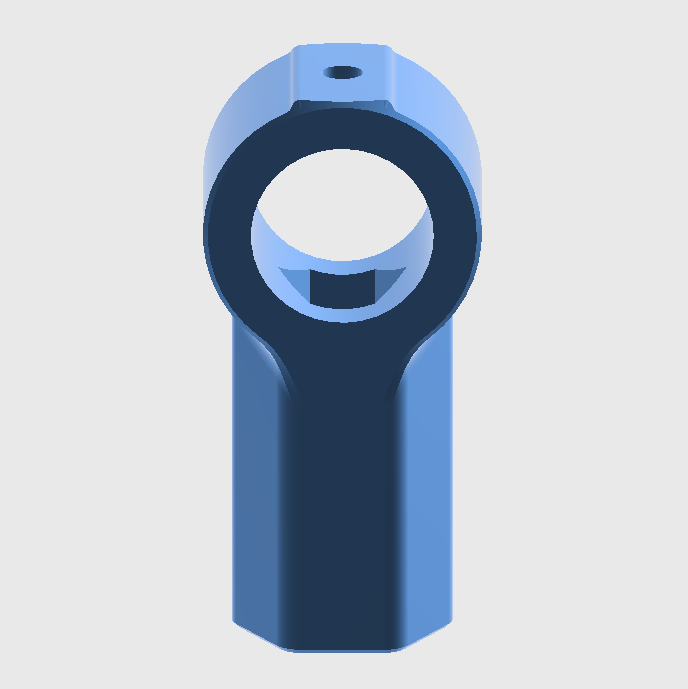
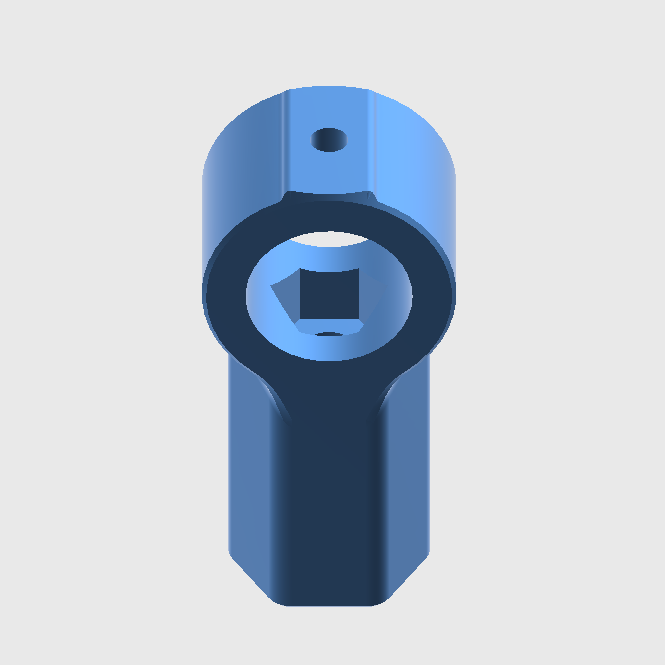
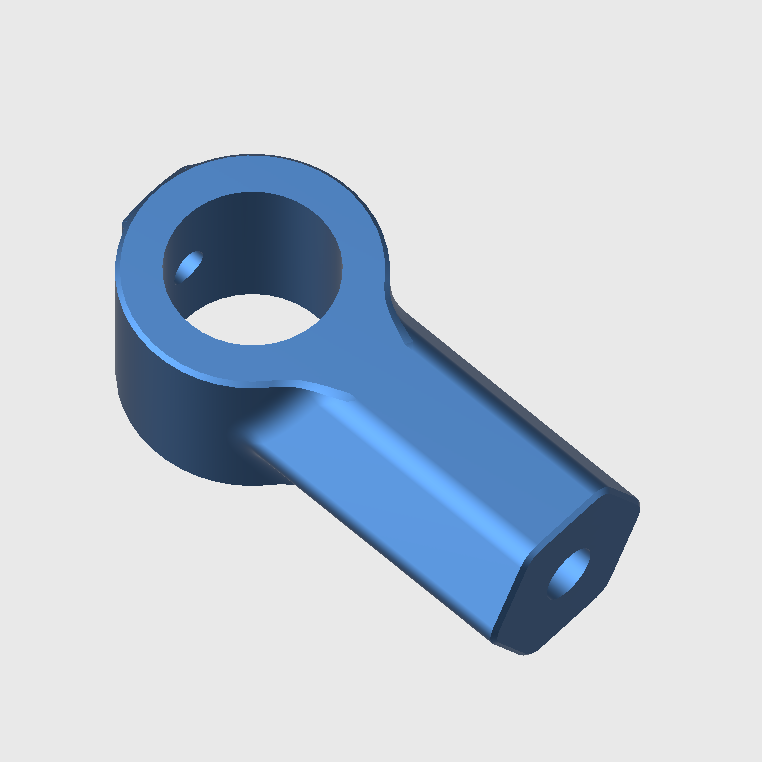
For each post mount you will need a 1.75″ long 1/4 x 20 screw or bolt, a washer (fender preferred if there is room) and a 1/4 x 20 nut.
Start by drilling a 1/4″ hole through the coro where the post mount will be located. Then prep the mount by inserting the 1/4 x 20 nut into the mount. It’s often easiest to temporarily insert the screw from the bottom of the mount and threading the nut onto the screw. As you tighten the screw it will pull down the nut and seat it in place. To install the mount insert the screw with the washer from the front of the prop and thread the screw into the mount on the back. Then orient the mount as desired and tighten down on the screw to hold everything tightly in place.
Note: The 1.75″ screw / bolt is an odd size and is not commonly carried by the big box stores. This size is required to maintain a constant mounting height across all of our mount designs. If not available, you will need to either cut a 2″ size down to 1.75″ or predrill the EMT / PVC so that it can accept the longer end of the screw or bolt.
3D printing parts is a slow process and we have a whole print farm running 24/7 to fulfill orders and build stock of the more popular items. If you order a product that shows “made to order” we will move it directly to the print queue where it will be printed as soon as possible. While normal processing times for most orders with made to order items is less than a week, it can fluctuate. Very large orders can also experience longer than normal processing times as well because of the high number of hours it takes to produce lots of parts. If processing times are expected to be longer than two weeks before shipping, there will be a banner at the top of the website indicating the expected wait times. See the FAQ page for more info.
All of our 3D printed parts use PETG filament which provides good flexibility and resistance to UV exposure when used seasonally.

Reviews
There are no reviews yet.